Video filters let you adjust and enhance your clips for greater visual effects. Access Final Cut Express' filters in the effects browser. Simply position the timeline playhead over the clip, apply a filter, and the resulting changes are displayed in the canvas. Filters can be animated using keyframes, which work the same way with filters that they do with motion.
Animate clips by simply changing an attribute of the clip over time. You can easily animate your clips using the viewer, which allows you to change parameters and motion and updates the clip in the canvas. Animating with Final Cut Express is non-destructive, so you can always undo your work if it is not exactly the animation you want.
LiveType ships with many sophisticated design elements so that you can add movement to your static text. You can access them in the media browser. Choosing, editing, applying, and previewing an effect is easy using the media browser and canvas. Live fonts are as easily manipulated as effects. Explore textures as well to make your titles professional and sophisticated.
When you've finished a LiveType project, you can import it directly into Final Cut Express. The LiveType projects looks and behaves like an ordinary clip, but it has a .ipr file extension. Edit it like a normal clip, and you can change its attributes after importing by right clicking and selecting "Open in Editor." Final Cut Express automatically updates the imported file.
Use LiveType to create professional titles in your Final Cut Express project. Match the properties to those of your Final Cut Express project, add text, choose a font, and format your text using the inspector. The title shows up on the canvas and in the timeline. You can also add sophisticated backgrounds, effects, and animation.
Learn how to write your movie to tape or store it as a digital file using Apple's Final Cut Express in order to share it with others. Using this process, you can play your movie on a VCR, website, iTunes, iPod, DVD, or any other device or format.
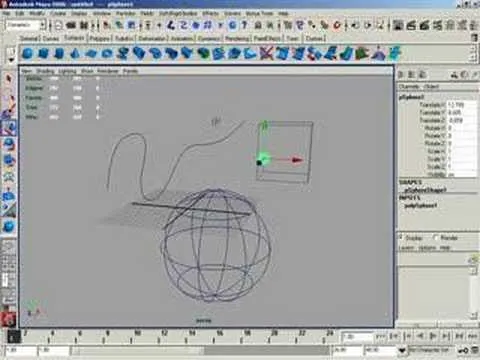
This tutorial shows you how to use curve snapping in Maya. It allows you to snap to snap to nurbs curves, isoparms or polygonal edges or anything that's a curve!
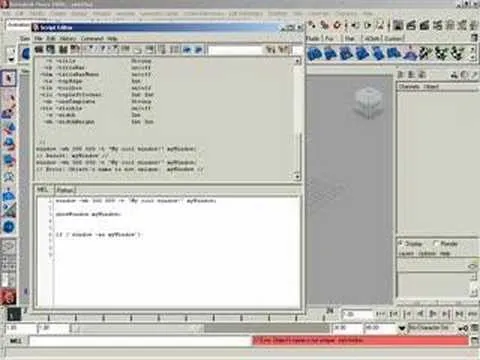
This video shows you how to edit an existing window in MEL code for Maya. You may want to watch the tutorial on creating a MEL script for a window if you don't already have one.
This tutorial shows you how to reflect component transformations to the opposite side of a symmetrical model in Maya. This sounds complicated, but it really just allows you to mirror your transformations from one side to another.
If you are working on characters or rigs, you are definitely working with joints. This video shows you how to insert a join in a joint chain if you need more or happened to miss one.
Need to hide the identity of an informant in your video? Maybe doing a spot for COPS or the Discovery Channel? Well, this tutorial shows you how to create a mosaic blur effect to cover someone's face in Premiere.
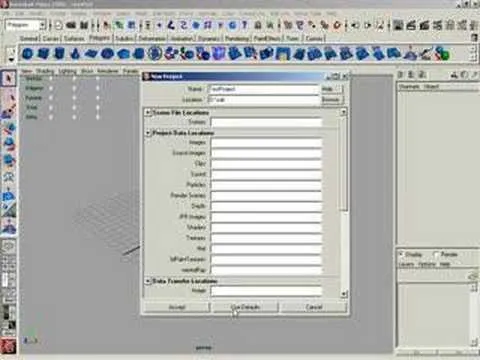
This video series shows you how to use the interface (UI) in 3D Studio Max. Topics covered are viewports, menu bar, main tool bar, status bar, command panel, and animation controls respectively.
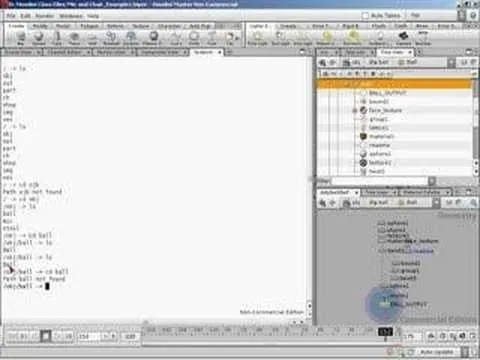
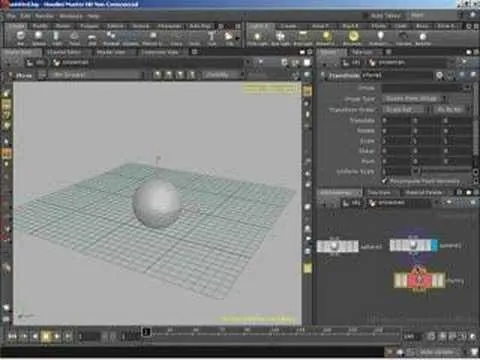
This video covers network paths and how to use them and understand how they work in Houdini. This is part of learning how to use the interface properly.
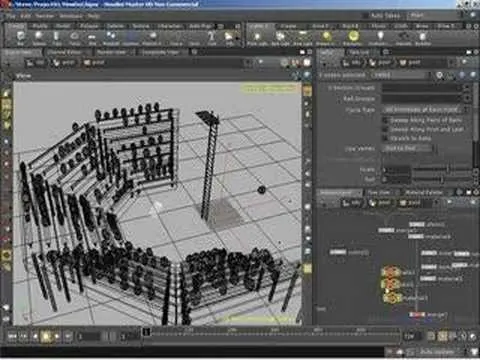
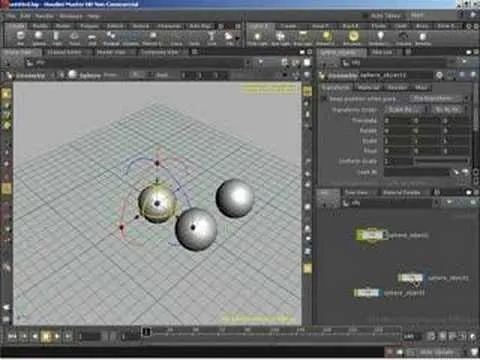
Another way to keep your nodes and projects organized is to put different parts of a project into different subnetworks within Houdini. This video shows you how.
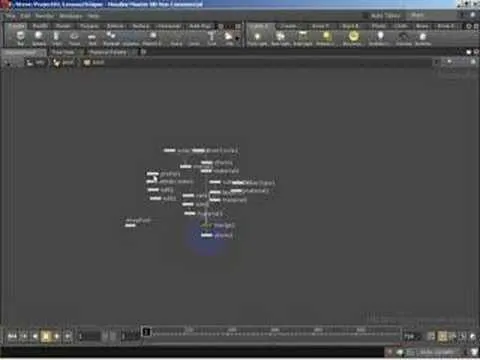
When working in a network, you can't always see the connection lines if you are too zoomed out. This tutorial shows you how you can quickly connect nodes in Houdini.