Hot Software How-Tos


How To: Change images in SWISH Max
This tutorial shows you how to edit and change images in a Flash website using SWISH Max. Change images in SWISH Max.

How To: Add borders to basic shapes in OpenOffice Draw
Once you have created a basic shape in Open Office Draw, you can add a range of formatting to alter the appearance of your shape.
How To: Create a name plaque in Photoshop
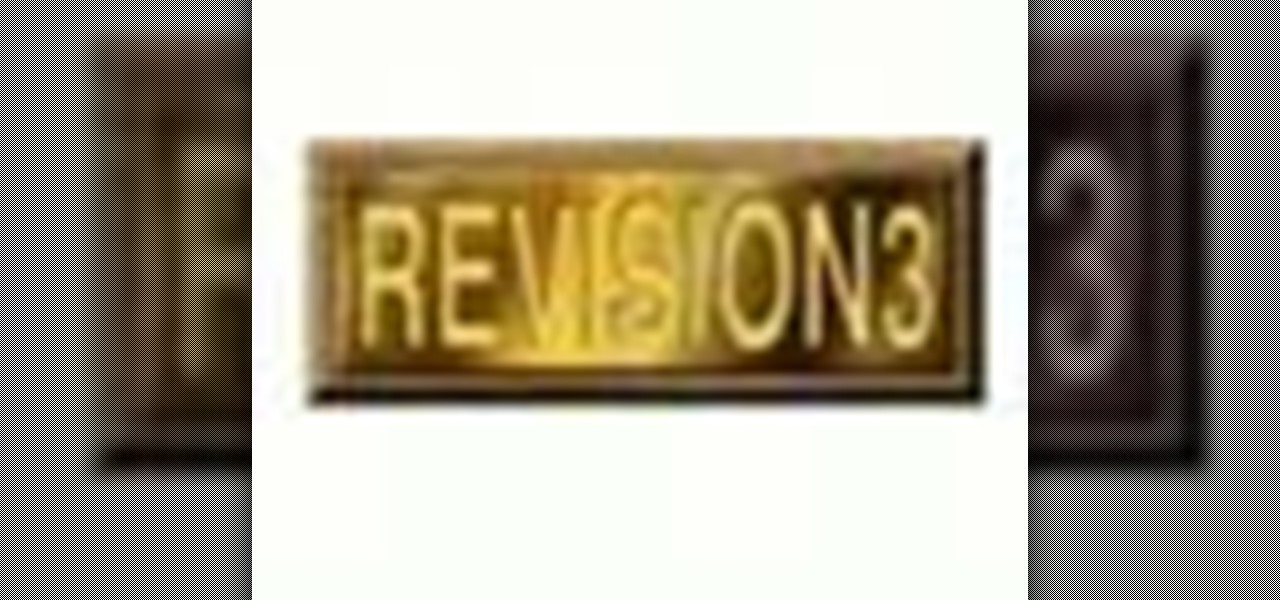
Your name may not be forever minted in stone or gold for all of posterity to gaze at, but you can certainly bling up your family name by making your own name plaque using Photoshop. This Photoshop tutorial will teach you how to put your name - or whatever word you want - in a shiny golden/wooden plaque with a brass plate. You'll be using filters as well as several other tools.
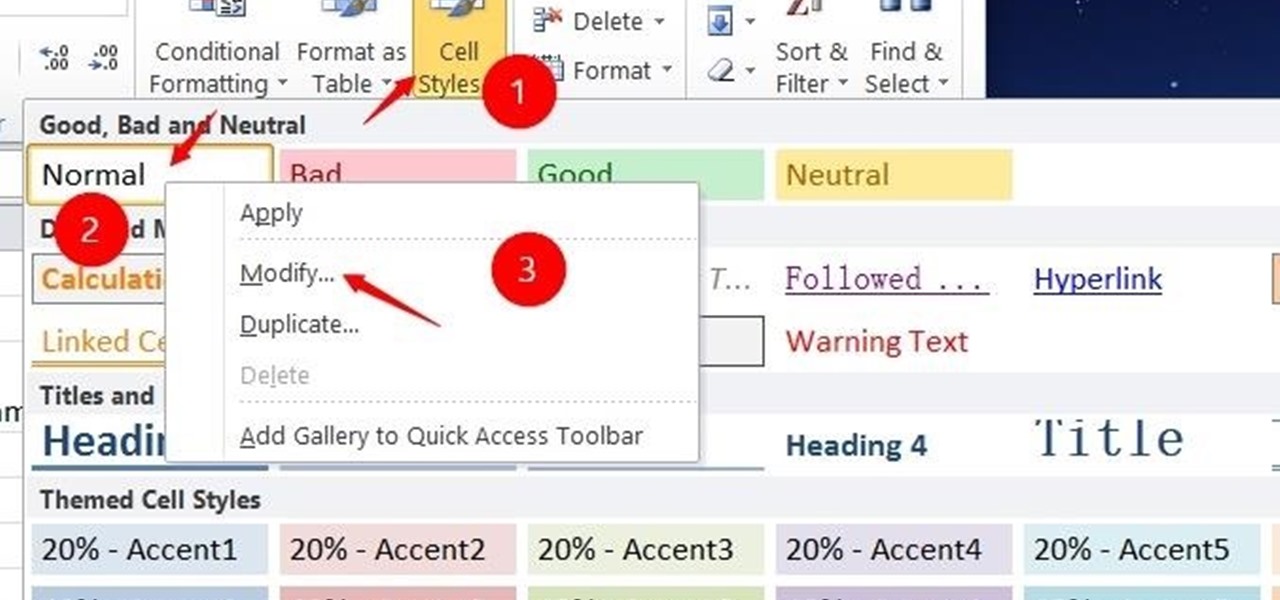
How To: Change the Default Font in Excel 2010
Some people may don't like the default word or hyperlink font in their Excel. Though you can change the word font of the whole sheet by using the font tools in the Home menu, but the default font still remains when you create a new Excel file. So, here is the solution.

How To: Turn a 3D Model in Maya into a 3D Print
When turning your 3D model into a 3D print, Maya requires some extra editing before you end up with a printable piece: the wall thickness needs to be checked, the model needs to be watertight, and your final printing size needs to be defined. To make your life easier, Autodesk Maya expert Russ Ogi has put together a step-by-step tutorial about how to make your Maya 3D model printable. See more at: 3D Printing with Maya: Step-by-Step Tutorial on How to Turn Your 3D Model into a 3D Print.
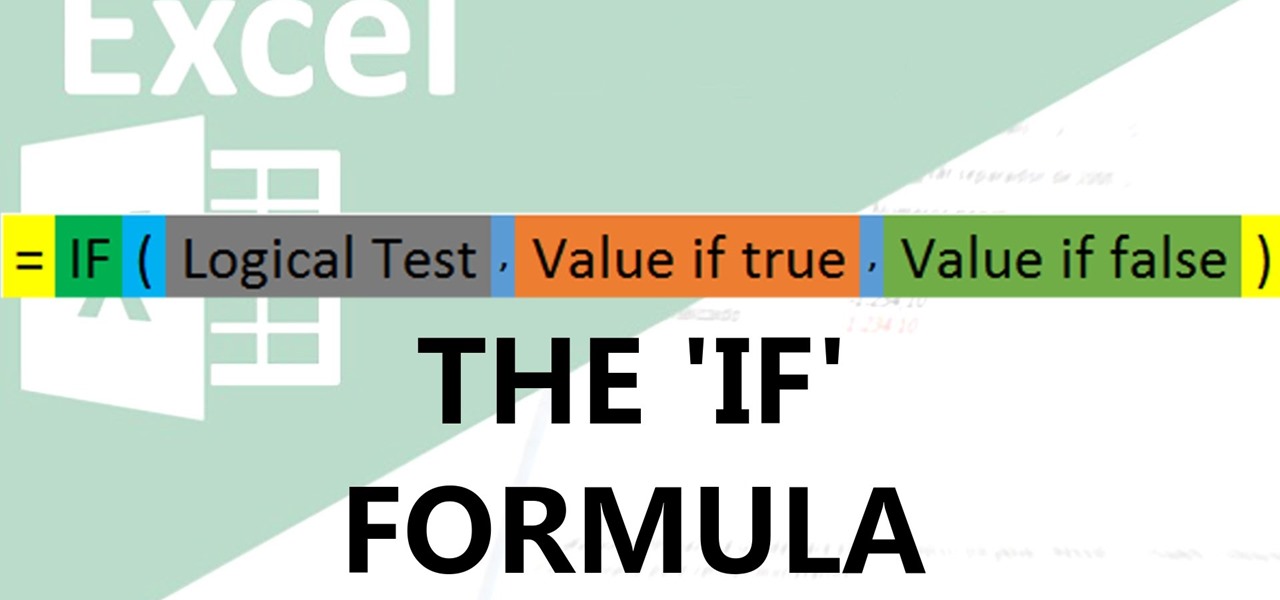
How To: Use the if Function in Excel
Video: . IF function

How To: Cut Hair Using the Alpha Channels - Photoshop Cc Tutorial
In this tutorial, you will learn how to make advanced hair selections using the alpha channels. And how to blend two different images together, using advance masking and the adjustment layers.
How To: Pre-Built Navigation Menu Bars for Xara Web Designer
Overview of pre-built navigation menus in Xara Web Designer designs gallery. The navigation menus in Xara Web Designers designs gallery allows you to choose from a list of navigation designs without having to design it by hand. If you need assistance using Xara Web Designer let us know and we will do our best to create web design tutorials to help you.

How To: Use the Shape Tool in Xara Web Designer
In this web design tutorial learn how to use the shape tool. In This Web Design tutorial for Xara Web Designer you will learn how to create straight and curved lines and smooth and cusp joins. Also this Xara Tutorial covers deleting and breaking nodes apart on a given line. The shape tool will allow you to make custom shapes and objects to give your website a creative boost.
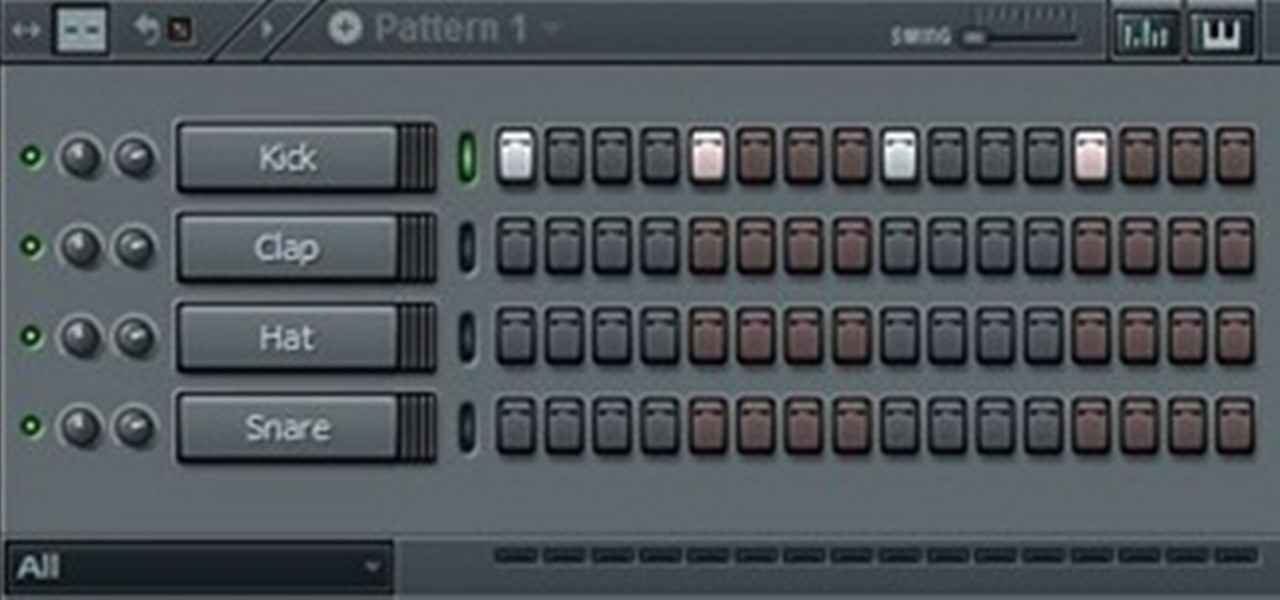
How To: Create a Pumping Effect (Like Sidechain Compression) in FL Studio [Advanced]
You may have heard those cool effects artists like Axwell, Ingrosso, Guetta, Antillas and many others use in their songs, the "pumping effect" on the Lead Synths or the vocals, like fading in and out.

How To: Convert Your Old Cassette Tapes into Digital MP3 Music Files
Before my time, people used to listen to music recorded on these things... I didn't really know what this thing was until my parents clarified and told me that they were called cassette tapes. These "cassette tapes" were utilized to store sound recordings on either side of the tape, which could usually hold between 30 to 45 minutes. I laughed at that information as I took out my iPhone 5 (roughly the same size), which can store roughly 40,000 minutes worth of music.
How To: Convert Videos to Different Formats for Free with Format Factory
In my last article, I discussed how you could download almost any video from almost any video sharing site using the free NetVideoHunter add-on in Mozilla Firefox. Now in this article, I will discuss how to convert those videos you’ve downloaded to any format—also for free. Most of the time, the videos you download with NetVideoHunter are in FLV (Flash video) format, which is something that not all video players can play. That’s why I made this article.
How To: Use After Effects to stabilize a shaky video recording
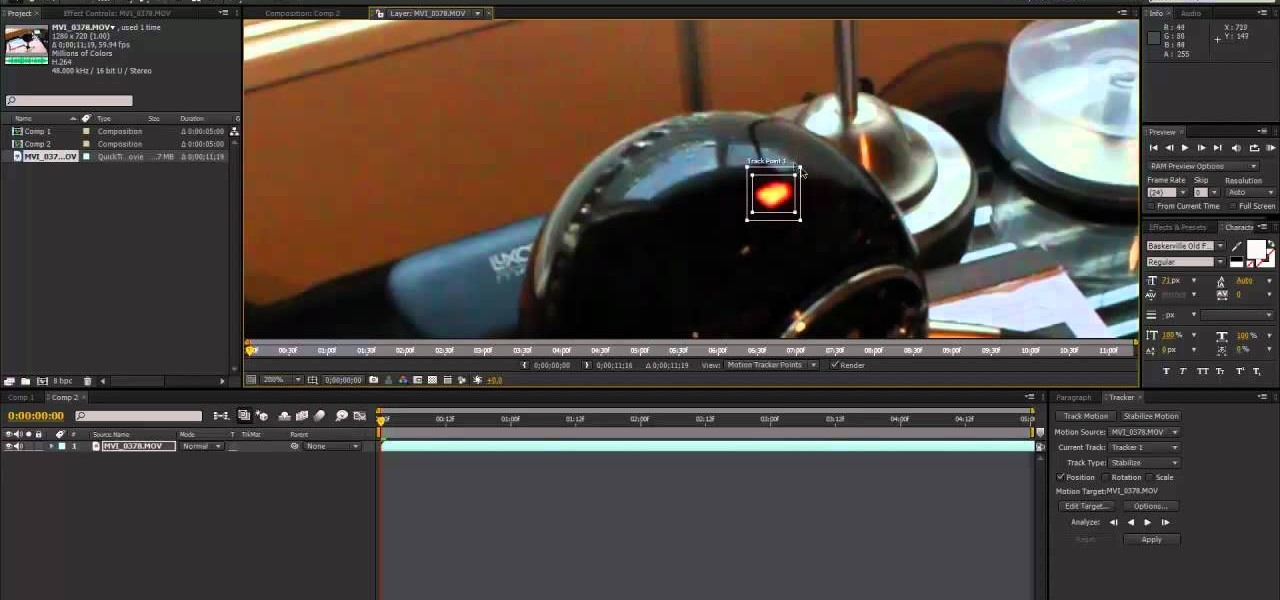
We don't always have a tripod handy when we need to grab some footage for our latest video project, but shaky footage can ruin an otherwise great video. Thankfully, After Effects has a 'stabilize motion' tool that you can apply to your recording to prevent headaches brought on by a shaky camera.
How To: Use Blender 2.5.7 to create the time vortex fx from the Doctor Who titles
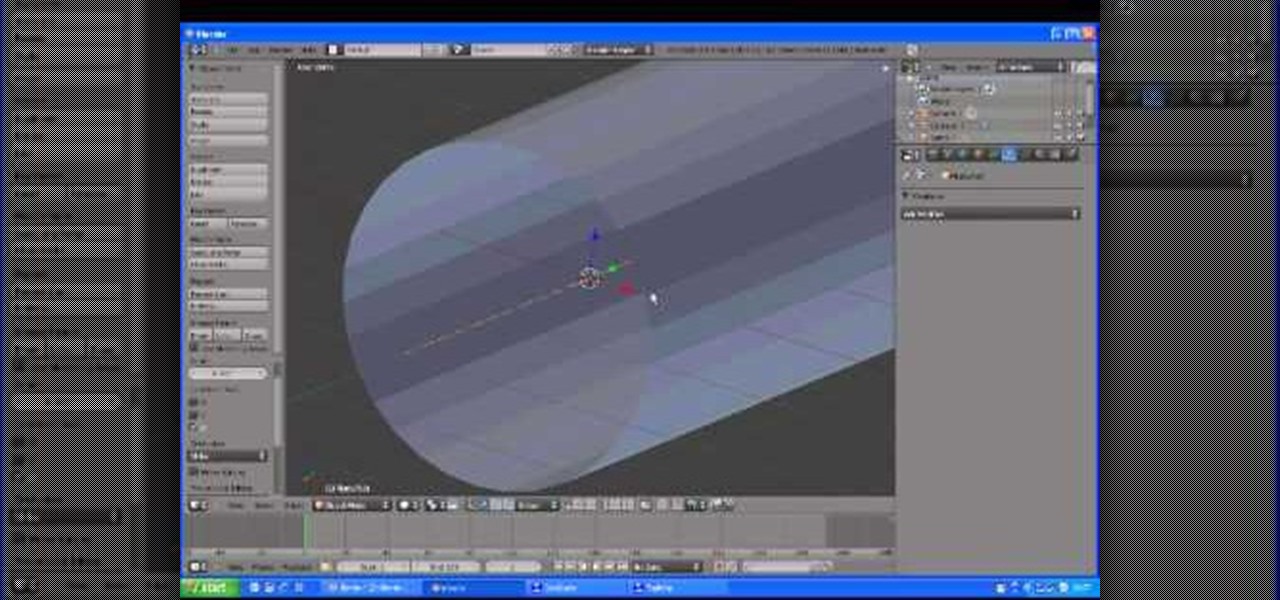
How cool is the time vortex effect in the opening titles of the BBC's Doctor Who? If you would like to know how to recreate that FX for your own video, watch this Blender 2.5.7 tutorial. The technique covered in this video can also be used to model a roller coaster track.

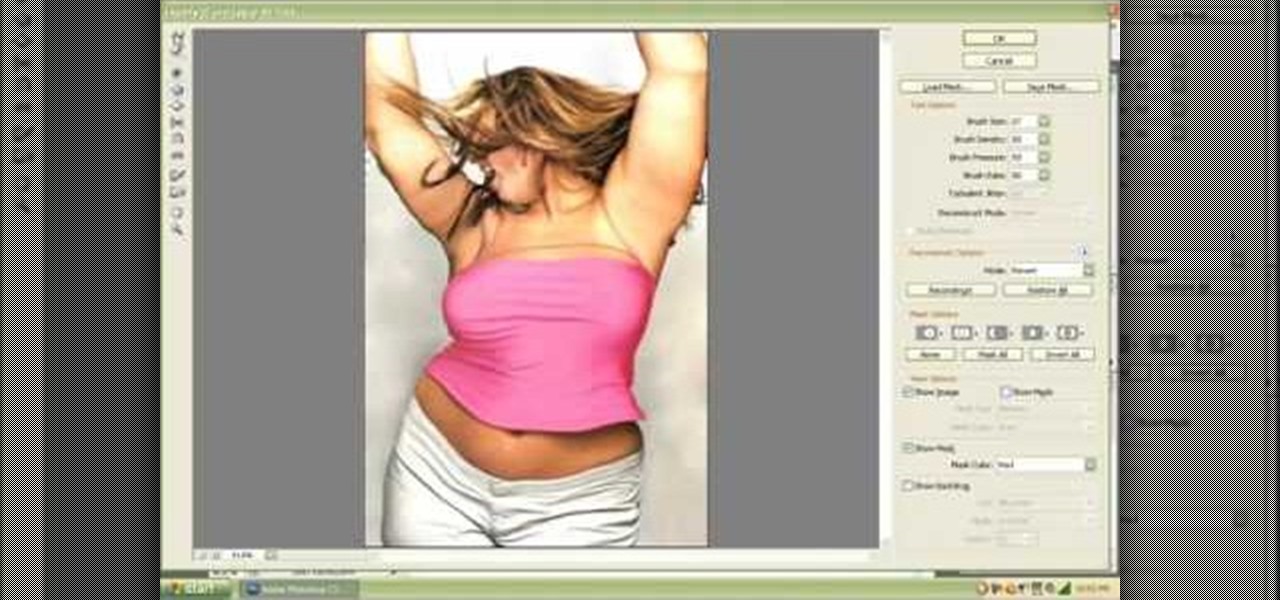
How To: See Through Clothes with Gimp 2.6
If you can't seem to find any photos of naked people on the internet, don't fret, this how to will show you how to "see through" clothing using some simple techniques with Gimp 2.6 photo editor. Gimp is like Adobe Photoshop without the heavy price tag. Tight, white clothing works best for this trick, so keep that in mind. Watch the video and get one step closer to seeing someone naked. Right on your own computer! See through clothes with Gimp 2.6.
How To: Create an Acapella track in Audacity
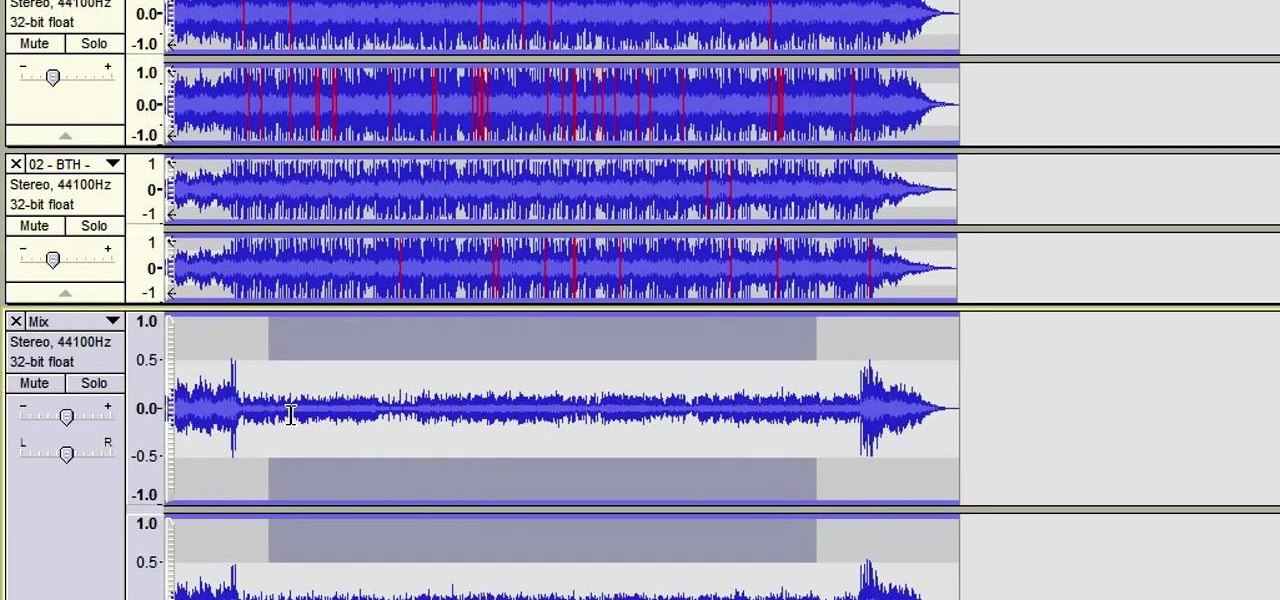
OK, your recording session is done and it went great! Well, except for the guitar. And bass. And drums. Oh, the trumpet was off. Tamborine was "meh", the harmonica was off key, the wood block was off time... you get it. The music was all wrong. BUT, the vocals were great. So, this tutorial shows you how to create an acapella track using the popular audio recording/editing software Audacity. This method is a little different than others out there on the web so check this one out and see how it...
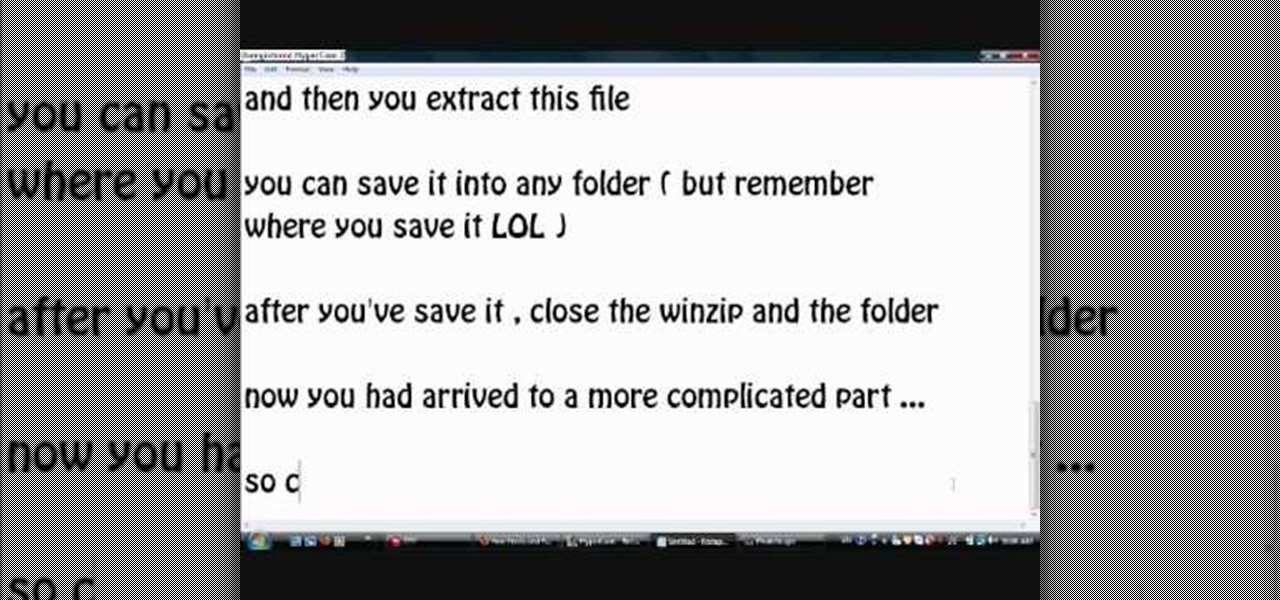
How To: Install additional fonts in Photoscape
Photoscape is a piece of free, photo editing software to use instead of more costly programs such as Photoshop. The program is pretty cool but you may want to install more fonts than what it comes with. If so, check out this video and you'll find out how to get it done. You'll need a zip program like winzip or winrar and you'll of course need Photoscape which you can get here.
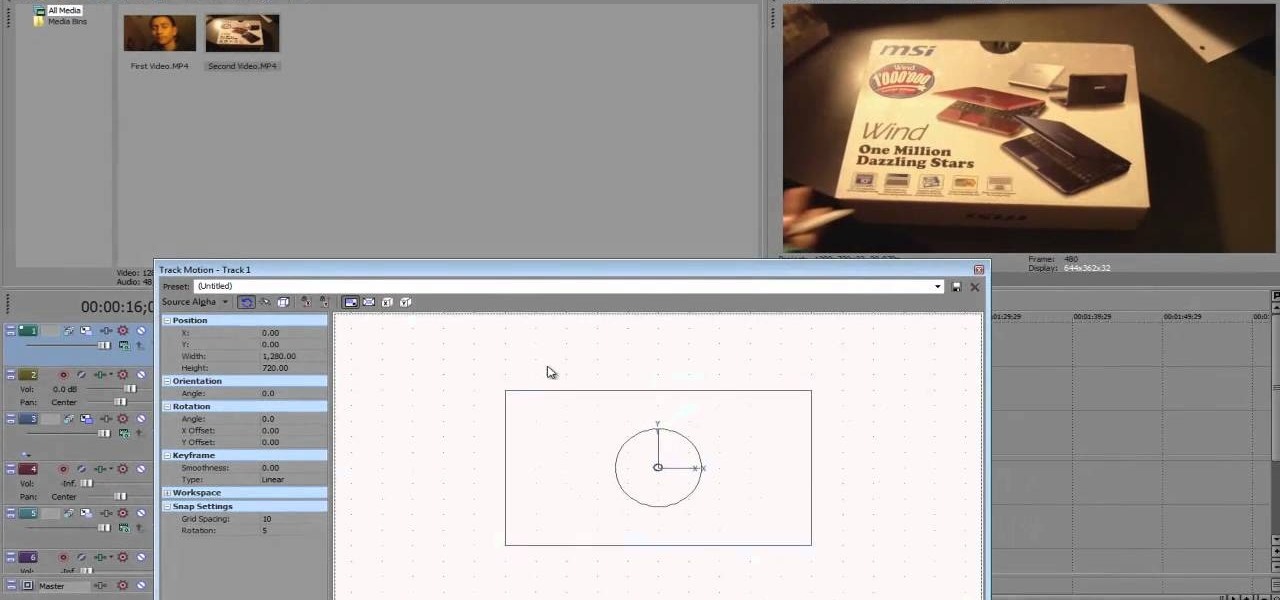
How To: Create picture in picture (PIP) with Sony Vegas
OK, you've got two videos and would like to show one within the other, aka: picture in picture. Here's a simple, step-by-step video of how to do it using Sony's Vegas video editing software. This simple editing technique can really give your videos a professional look, by teaching you this simple trick.
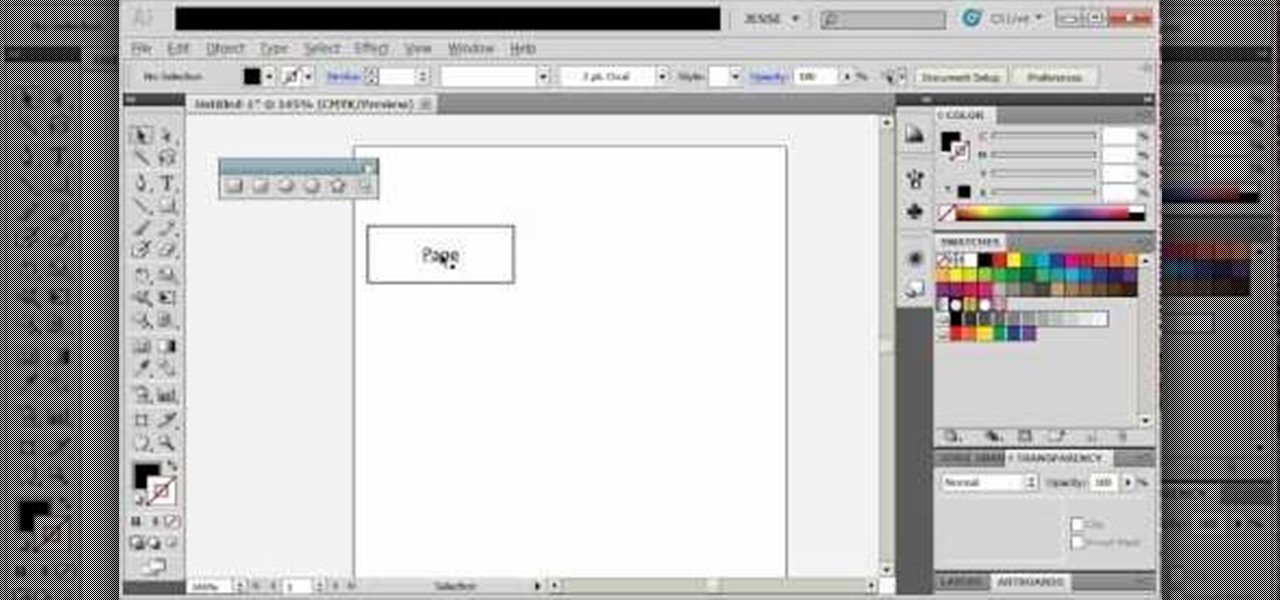
How To: Create diagrams and flowcharts in Adobe Illustrator 5
If you need to make some diagrams for a school project or a flowchart for a business proposal, you can easily use Adobe Illustrator 5, part of the Creative Suite package, to create them. This tutorial shows you a few ways to create your own customized diagrams.

How To: Make a six pointed star using the tools in Adobe Illustrator 5
This tutorial shows you how to use the star took and a few other basic functions with Adobe Illustrator 5 to replicate the Star of David on the Israeli flag. Master a few basics of image manipulation with this tutorial.
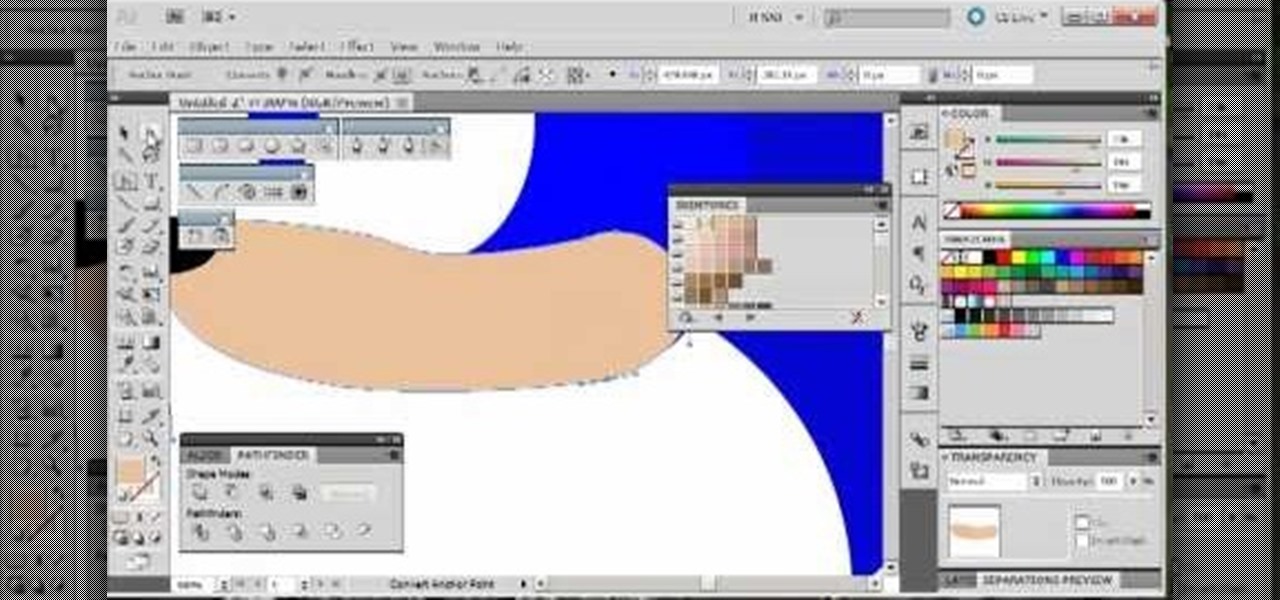
How To: Draw Sonic the Hedgehog using the tools in Adobe Illustrator 5
By following along with these tutorials, you can learn not only how to draw the popular Nintendo character Sonic the Hedgehog, you will also be able to master many of the basic and intermediate drawing tools available in Adobe Illustrator 5.

How To: Use MiniLyrics with any music player to get all your songs' lyrics
How DOES that song go!? With MiniLyrics installed on your system, you won't ever ask again. Working in conjunction with any music player, MiniLyrics will give you the words to all your favorite tunes, letting your read along while you do something else. MiniLyrics works with iTunes, winamp, RealPlayer, Windows Media Player etc.
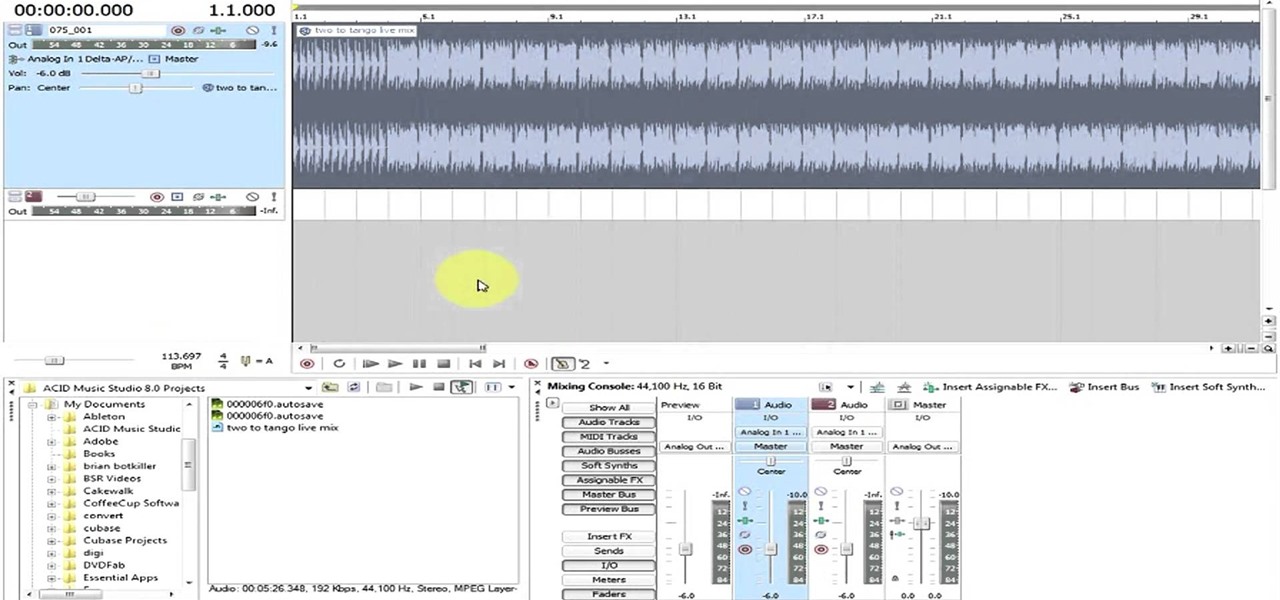
How To: Use loops and beatmapping in Sony Acid Studio
This tutorial shows you how you can use two features of Sony Acid - loops and beatmapping. These can give you a good deal more versatility, especially when you are working on a remix. This tutorial shows you how to use both.

HowTo: Make Your Own 3D Images
There's the simple, headache-inducing method, and then there's the slightly more complicated, pain-free method. All you'll need is a digital camera, Photoshop (or any image-editing software), 3D glasses, and the tutorial below. For step-by-step text instructions, click through to Open Tutorial.

How To: Use the Excel Vlookup function in Microsoft Excel 2007
Use the Excel Vlookup function in Microsoft Excel 2007 to look up data in a table. This tutorial looks up the level and value of a product from a stock list using the Vlookup function in Excel.
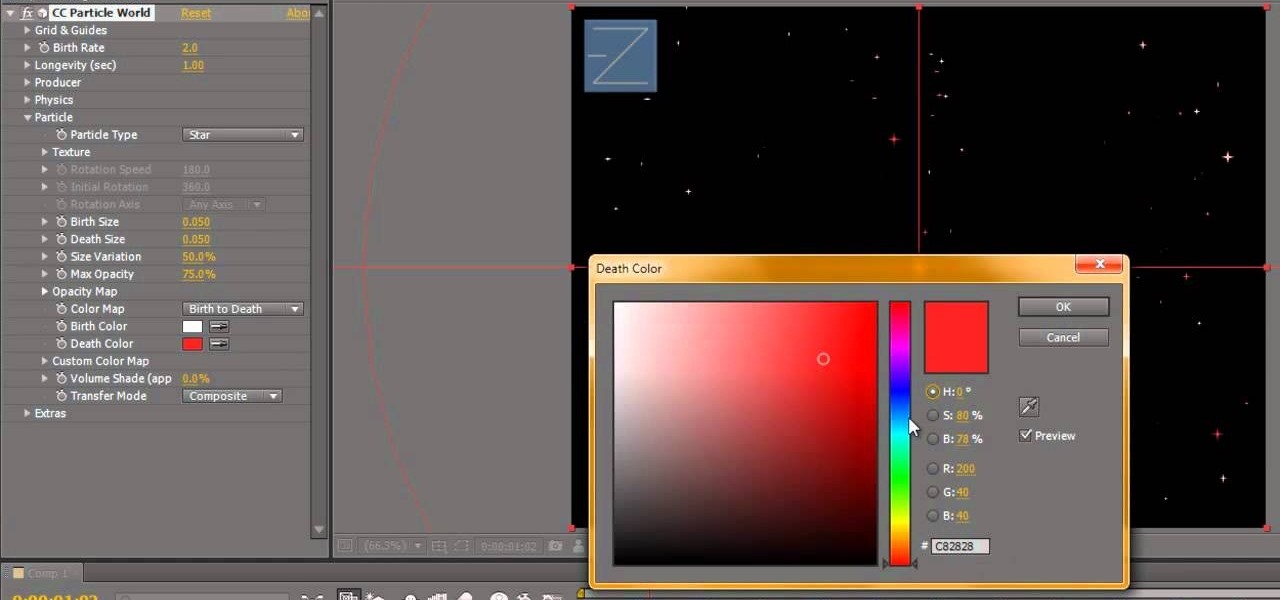
How To: Create a twinkling star effect in Adobe After Effects
This is a great background for Christmas plays, holiday pageants or any other video you want to add a little twinkle! You can add a twinkling star quite easily in Adobe After Effects, and this tutorial shows you exactly how!
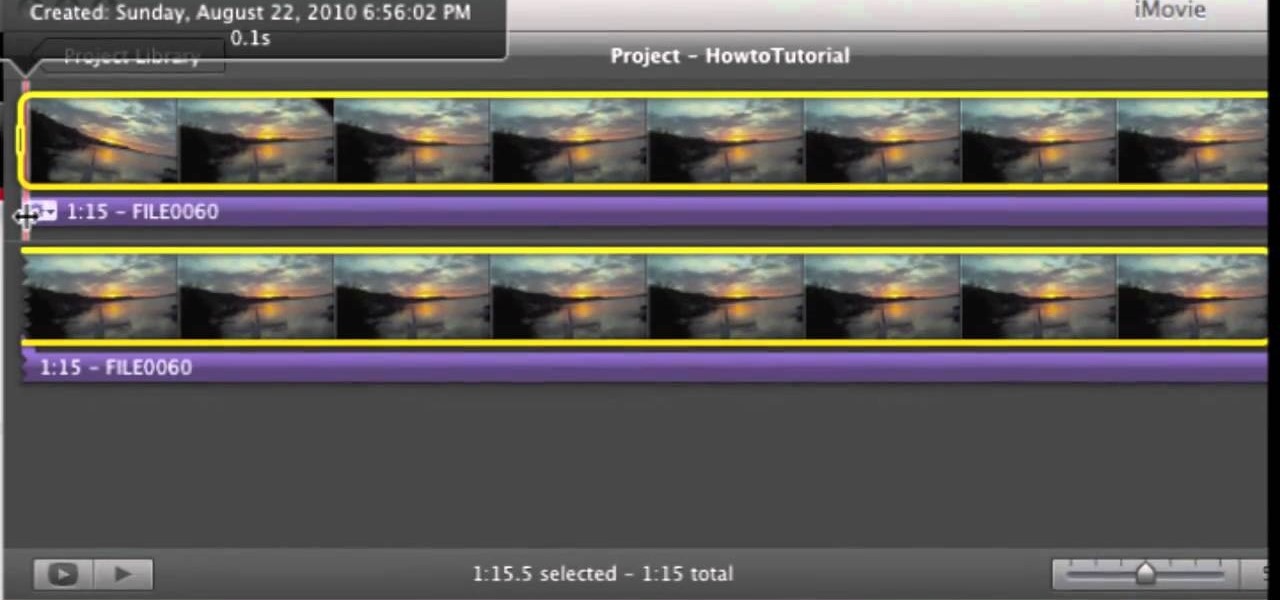
How To: Remove (detach) audio from video in iMovie
If you've imported some video footage into iMovie, but want to use the sound elsewhere, like in GarageBand, you're going to have to detach the audio from the video. This tutorial will show you how to remove the audio from an video clip in iMovie in Mac OS X. Detaching audio is very simple, so don't worry!

How To: Create a force field effect in Adobe After Effects CS5
Want to create a force field effect within a video project? This clip will show you how it's done using only stock After Effects CS5 plug-ins.

How To: Create a subtle ocean-like underwater scene in After Effects
This After Effects tutorial will show you a nice underwater scene, complete with light rays, rising bubbles and cloudy ocean mist. You don't have to be a professional AE user to recreate this great animated scene, either! Laurence Grayson demonstrates all the techniques for this subtle ocean-like underwater look using the standard toolkit in Adobe After Effects (CS3, CS4 & CS5). Using Fractal Noise, CC Snow and a Lens Blur with Depth Map, Laurence will have you chilling out in no time!

How To: Calculate the value of a preferred stock in Microsoft Excel
As you might guess, one of the domains in which Microsoft Excel really excels is finance math. Brush up on the stuff for your next or current job with this how-to. In this tutorial from everyone's favorite digital spreadsheet guru, YouTube's ExcelIsFun, the 62nd installment in his "Excel Finance Class" series of free video lessons, you'll learn how to calculate the value of a preferred stock.
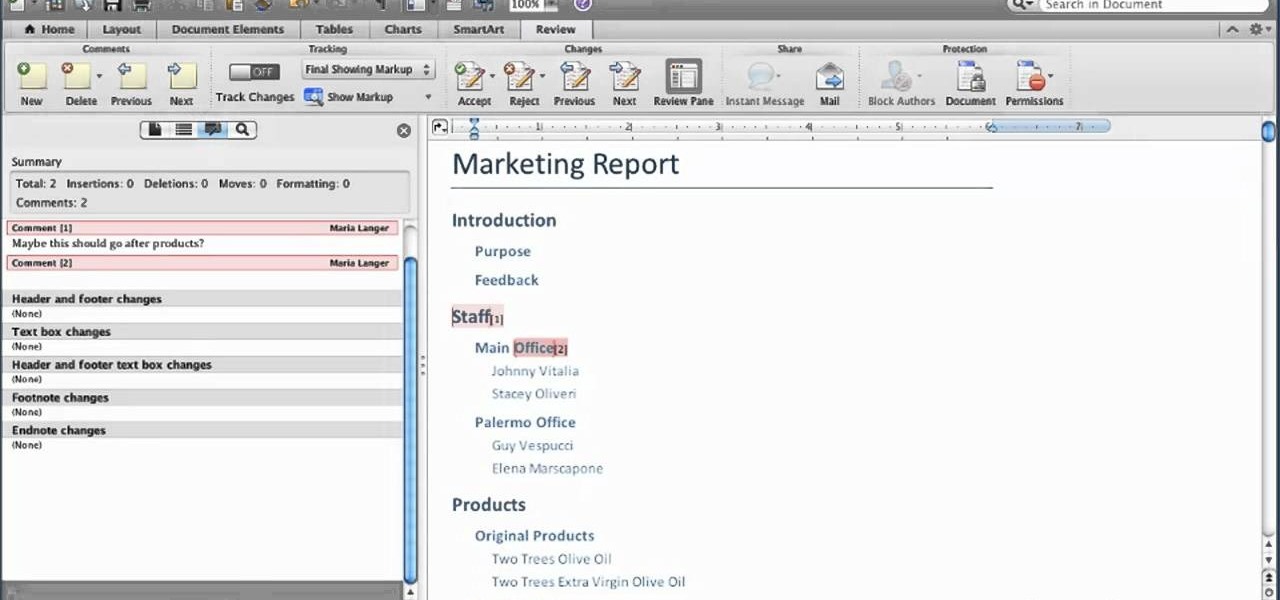
How To: Add comments to a document in Microsoft Word for Mac 2011
Want to know how to create annotated docs in Word for Mac 2011? This video will show you how it's done. Whether you're new to Microsoft's popular word processing application, new to MS Word 2011 or even an expert merely looking to brush up on the fundamentals, you're sure to be well served by this quality video tutorial from the folks at Lynda. For detailed, step-by-step instructions, watch the video.

How To: Change image size in Photoshop CS3
In this tutorial, we learn how to change image size in Photoshop CS3. First, go to your pictures folder and then open up your picture. From here, reduce the image to 50% of what it is by opening up Photoshop. Load the picture to this, then go to the edit menu of the image and zoom in and out of it to see the image larger or smaller than what you want it. You can also crop it if you want to remove something from the image. When you're finished changing the size, save this to your computer and ...

How To: Draw Sonic the Hedgehog in Photoshop
In this video, we learn how to draw Sonic the Hedgehog in Photoshop. First, draw a circle on the page and then draw the eyes onto him. After this, draw on his ears and then his hair around his head. After this, draw in the rest of his body and his feet. From here, use a darker paint brush to create the final outline of the character. Draw in the lines around Sonic to make him appear more realistic. Then, color him a dark blue color with red on his shoes. When finished, save this drawing and y...

How To: Resize an image in MS Paint without losing resolution
In this video, we learn how to resize an image in MS Paint without losing resolution. First, you will go to the file menu and then open. From here, open up the photo you want to resize. After this, go the 'image' section on the toolbar and then click 'stretch and skew'. From here, change the vertical and horizontal stretches until you have the size of picture that you want! Continue to play with it until it's right and then save this over again. This should only take a few minutes and will ke...
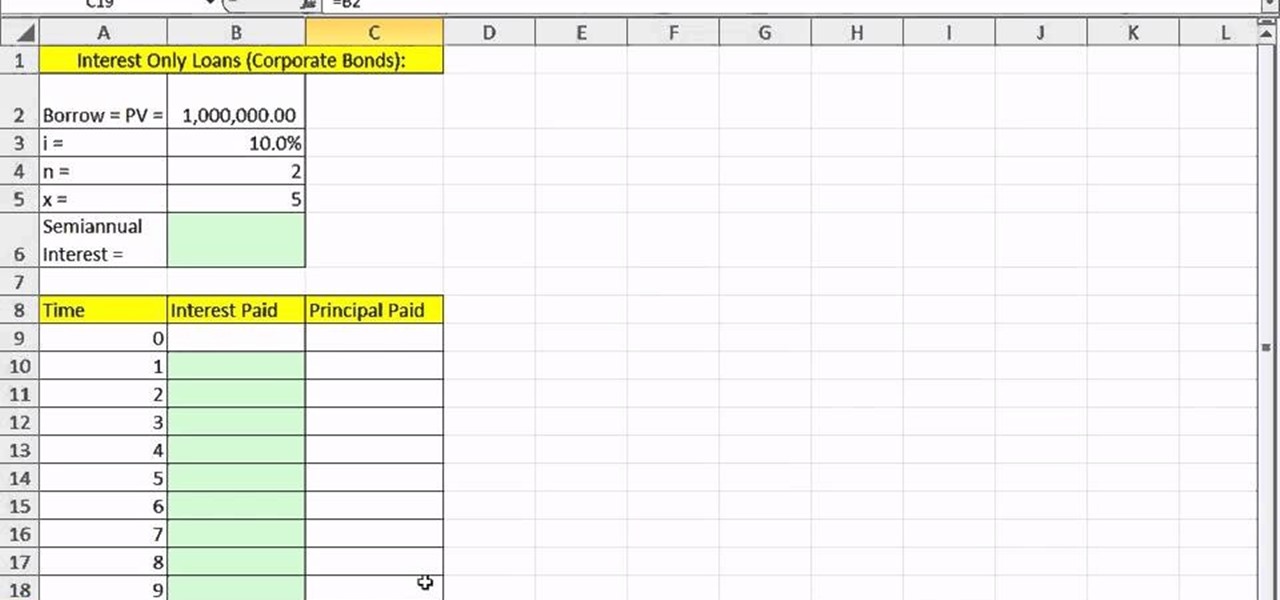
How To: Create an interest-only loan schedule in Microsoft Excel
As you might guess, one of the domains in which Microsoft Excel really excels is finance math. Brush up on the stuff for your next or current job with this how-to. In this tutorial from everyone's favorite digital spreadsheet guru, YouTube's ExcelIsFun, the 12th installment in his "Excel Finance Class" series of free video lessons, you'll learn how to create an interest-only loan schedule in Excel.
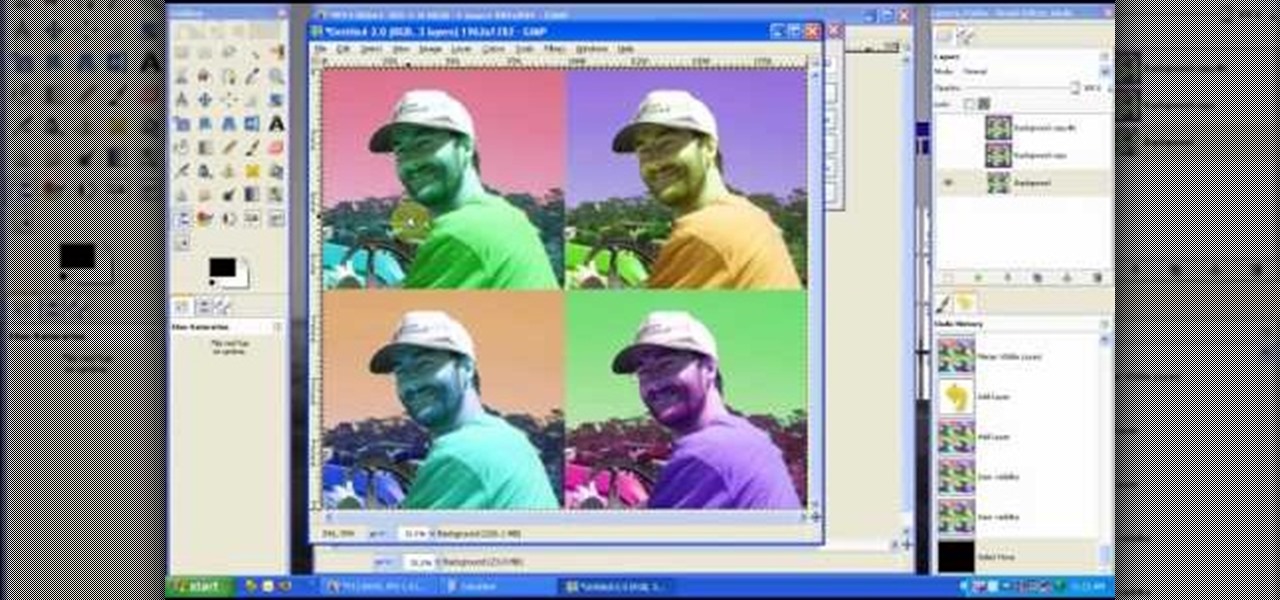
How To: Create an Andy Warhol pop art effect in GIMP
In this tutorial, we learn how to create a Warhol effect in GIMP. First, you will need to take your image and open it up in GIMP. After this, you will need to resize this so that four of these fit into one square next to each other. From here, create a new layer and then layer it to size. After this, change the hue and saturation of the photos. Then, change the lightness and make it any color you like. Then, do the same for the other photos in different layers. Save this when finished, then y...
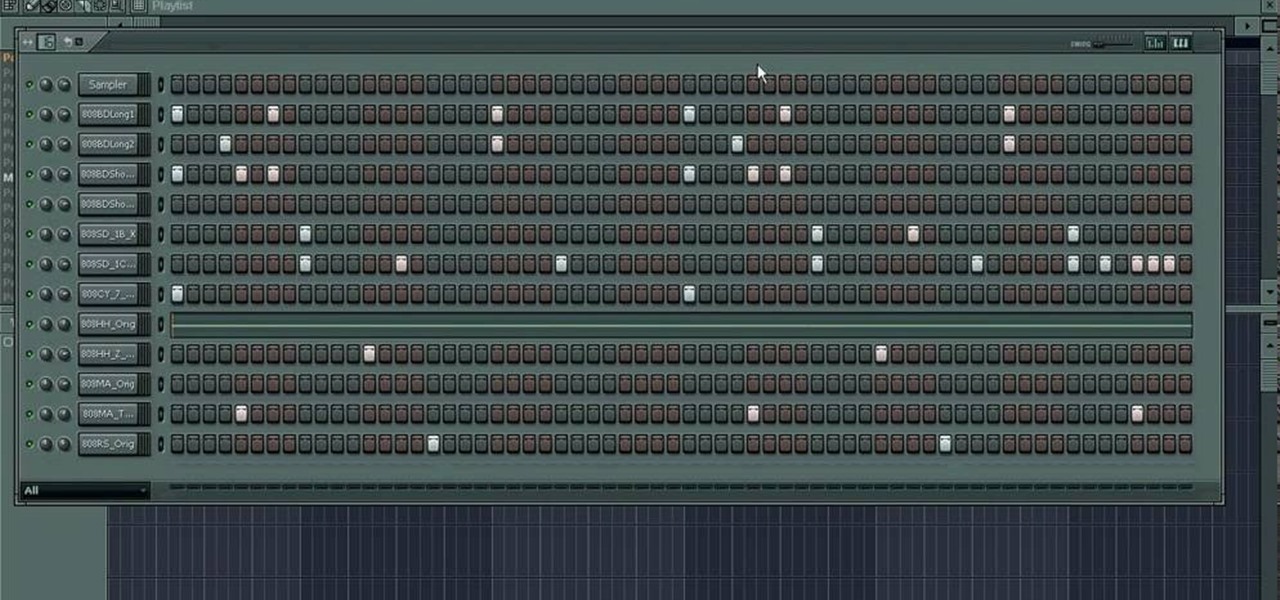
How To: Make Dirty South drums in FL Studio
In this tutorial, we learn how to make Dirty South drums in FL Studio. First, you need to get the samples from the 808 drum kit. After you have these, you will load up the tempo, going no lower than 1.5 and doing 16 bars. Then, play the drum sounds until you find some that you like the best. After you have the bass drums, select the snare drums. Go through the drum kit until you have selected all of the drums that you like. There are a lot to choose from, so take your time listening to all th...

How To: Draw 10 different types of anime eyes in GIMP
In this video, we learn how to draw 10 different types of anime eyes in GIMP. For the girls eye, draw the outlining of the eyes and then the eyebrows. Then, color the whole eye black and give it color. Then, burn the shadows and add in white to the top. Color the face around it and then add in the facial features. For the guys eyes, give them the color in the eyes first and then add the lighter color and the white to make it shiny. If you are going for a mean look, darken the eyes and make th...

How To: Make stencils in GIMP
In this tutorial, we learn how to make stencils in GIMP. Start with heads or faces if you are new to this. Then, use the rectangle tool to select the head. Then, go to image and fir canvas to selection. Now, remove the background by using the background tool. Once finished, go to colors, then threshold. The image should turn black and white. Turn the dial to the right, then turn it to the left to make it lighter and darker. Find the spot to where it shows detail but it's not distorted, then h...
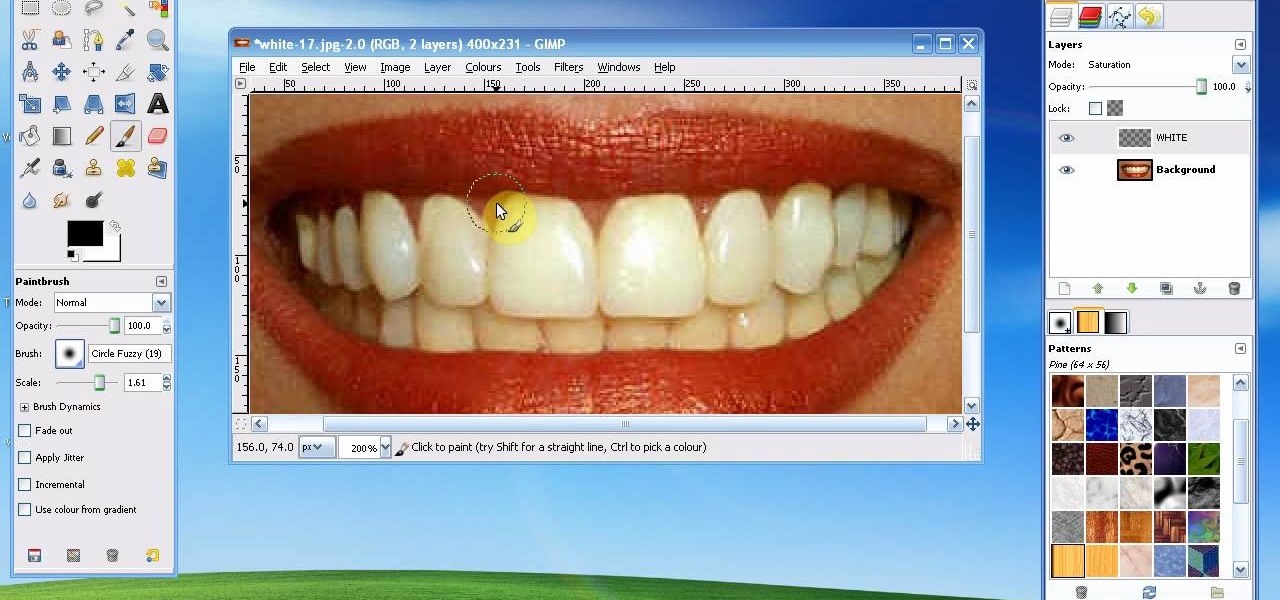
How To: Whiten teeth in the Gimp image editor
In this tutorial, we learn how to whiten teeth in the Gimp image editor. First, open up GIMP and zoom in on the teeth of your image. From here, create a new layer named "white", making sure it's transparent. Now, make sure the white tab is on the top and go to "mode" then "saturation". Select the brush named "circle fuzzy 19". Put the scale around 1.5 or 1.6 and then draw on the teeth, which will make them white! Do this for all of the teeth, then when you save you can use this as your image ...


